Monday, August 17, 2015

Relics of a Time Gone By (part 1)

This past month or so, Alan and I have been itching for a mini-vacation. We love a decent winding drive to catch up on podcasts (and each other), a chance to get away, and exploring new places.

A few months ago, on the way back from visiting his folks in Kentucky, we passed briefly through Vicksburg and Northeast Louisiana. It surprised us both how much we realized there was deep history here, but how little credence we'd given the area before-- especially when it comes to vacation destinations.

On Saturday morning, we set off on a leisurely and Community Coffee-fueled drive toward Jonesville-Ferriday, intent to visit Louisiana's only UNSECO World Heritage site (and only the 22nd in the U.S.)-- Poverty Point Earthworks. Once a sacred spot to the Native Louisiana peoples around 2,000-1,000 BC, it is one of the oldest cultural points still in existence in North America.


The mound-building of Native Americans has spawned various logical and superstitious schools of thought; but these ancient mounds provoke a particularly enigmatic idea-- their entire purpose is decidedly unknown, but most likely ritualistic or religious. The design of the mounds themselves sparks the imagination-- a sort of proto-crop circle, many amateurs and professionals have hypothesized their significance. 


What we do know about the site is based on the things we have found, and also what we have not found at the site-- other mounds usually suggest burial, but no tombs or bodies are found here. There are some older portions of the site that suggest that it was significant before it became so large, and that it most likely was a permanently-habited site for around 600 years, with much trade occurring here over that time. What is known is that the design is man-made, and took a group of people a lot of time and effort to put together. Our personal speculation? The design is that of a Barred Owl that is populous in the area, and considered sacred to these people. We observed one in flight during our meager stay of two hours!


As happens with nearly everywhere, the place eventually fell out of favor-- whether due to the Mississippi river changing course and flooding, the loss of wild game, disease, or just due to the younger generation's slowly shrinking sense of reverence for the ways of their forefathers (we've all been there...). And then, as also happens, a new group of people found the place desirable again, and history was laid on top of other history like layers of silt. One of the older mounds shows great wagon wheel grooves worn into the middle as settlers from the 1700-1800's followed the small tributary bayou out west. After this, other settlers made permanent homestead here, and later the plantation for which the site is named.


As you guide yourself along the lovely (and, in mid-August, steamy) three mile hike, you're greeted with tracts of open grassland, lovely bayou views, lush forest trails, and handfuls of curious critters to blend the natural and the historical elements of the site seamlessly together.


So what did we learn; what did we come away with? What's left at the end of such a lovely hike and tour? Definitely a profound sense of wonder and hundreds of questions, for which the very deeply explored scientific answers are, "We really don't know much, but we do know this stuff is special."


As we got our sweaty selves rehydrated and off to Vicksburg to explore our more modern Civil War history, it hit us how the passage of time can change what we think we know about the past and, honestly, is Poverty Point really just an ancient society's own Battle of Vicksburg National War Memorial that time and consciousness forgot? Instead of arrowheads, we have bullets? A crossroads of many peoples, or were they the armies of peoples, or peoples just coming to remember the past? Because honestly, after seeing both places, they can appear eerily similar, just a few miles and millennia apart. 

Monday, June 8, 2015

Shine On, Baby!

As is most likely common knowledge, us southern gals have a lot of sterling silver on hand. If there's a stainless steel option, I guarantee you there is a sterling silver equivalent, and some southern bride has that on her wedding registry. Our mamas and grandmamas had tons of the stuff, so of course we do also.

I'm not shy about using silver in every day life. If you have it, then use it. Dark and dusty silver is sad silver.

Now, I'm just some random girl on the internet, but listen to me when I tell you about a product every Silver-loving Lady needs to have on hand.

Wright's Silver Cream Polish

Now, I don't know about you or your neck of the woods, but look hard enough, and you'll find this stuff is available at the grocery, the drug store, and pretty much any supermarket in the south. It's that canonical. It may seem pricey, but the shine is worth it.

Before

I have a set of silver goblets with engraved initials on them, and for a recent dinner party, I polished those bad boys up. Splash a bit of water on the enclosed applicator sponge, work a dab over an area, and you'll be surprised how easily the tarnish comes off. Works equally well on jewelry, utensils, serving pieces, christmas ornaments. ANYTHING silver!

After

The shine stays very well, but a hint for all silver-lovers out there... oxygen is the enemy of shininess. If you've got a bunch of silver to store, get some clean/unused plastic grocery bags, wrap the silver in cloth or paper towels to wick away any moisture, and enclose tightly as you can in the grocery bags to eliminate air. Tie with a rubber band or twist tie. You don't want the plastic directly on the silver, but it will help in eliminating air from the swaddled pieces.

Getting a Bit "Choked" Up

Summer always reminds me of one of my favorite seasonal foods-- the ever enigmatic artichoke. Done the wrong way, and this interesting flower can drive you crazy, but done correctly it will knock your socks off every time!

Long Stemmed Artichokes are my favorite, as the center of the stem itself is quite edible. I'm going to show you the basics of artichoke preparation, and then some of the great flavorful options for your Chokes.


Step 1 - Cleaning the Artichoke

Using some kitchen shears, remove the lower leaves on the stem, and snip off the spiky tops of the leaves. Using your hands, create space in the bloom of the flower, allowing you space to clean it further.


Step 2 - Removing the Flower

Using a spoon (a grapefruit spoon is ideal), carve out the center part of the flower, leaving 5-6 sets of leaves on the outside. You'll notice inside the flower there are some tender, soft, fibrous parts. Treat this section like you would carving a pumpkin and removing it's guts. Scrape that spoon along the base of the flower to get out all the fibrous, small pieces of flower. 


Step 3 - To The Sauna!

Continue to "fluff out" the blossom to allow space between the concentric rings of petals. This is going to help you to cook the flower faster. While you're doing this, sprinkle a bit of salt and pepper inside the layers.

Using a steam basket and a large pot with 3 inches of water in the base (not touching the flowers), place the blooms stem-side up over the steam. Seal, and allow to steam for 20-25 minutes, checking for tenderness. After 25 minutes, the blooms should look less radiant green, and the leaves should easily come off with the tiniest tug. 

**Pro-Tip** We like to let our blooms rest for a day or two in the fridge before steaming. This allows the pollens in the flower at the base to oxidize, creating a very rich, unctuous, floral character. Yes, it will turn the inside of the flower black (same oxidation at work) but we think the flavor is delicious. 

Step 4 - Finishing up

At this point, you're good to eat these bad boys, but we can always spice it up a bit. How to eat-- The meat is at the base of each leaf. Put the leaf between your teeth and pull the leaf to scrape the meat off. NOTE-- after all the petals have been pulled off, that base is some of the most delicious veggie meat in the world. You can also peel the stem and eat that part as well. 

Balsamic-Butter Dipping Sauce
4tbs nice butter (Kerrygold Preferred) 
1tsp nice Balsamic Vinegar
1tsp minced garlic
1 slice lemon

Melt butter in sauce pan, but not too hot so the fat doesn't separate. Add garlic, simmer for 2 minutes, take off heat, add Balsamic Vinegar and juice from lemon. Whisk together, adding a bit of fresh cracked pepper to taste

Stuffed Mushroom Artichokes
3 long-stemmed Artichokes
4 cloves garlic (minced)
1 pint Baby Portobella Mushrooms
1cup Shredded Parmesan Cheese
1/2 cup Italian-seasoned breadcrumbs
3 tbsp Olive Oil
2tbsp fresh minced basil

Clean, prepare, and steam artichokes as shown above. Cool. Preheat oven to 375 degrees. While artichokes are cooling, chop finely Portobella mushrooms including stems. If you have a food processor, this is going to be your best friend. Mix together garlic, basil minced Portobellas, parmesan, breadcrumbs and olive oil. This can also be done in a food processor.

Once artichokes are cool, slice down the middle from stem to tip, leaving an open cavity on each side. Lay artichoke halves cavity-side up on a large foil-lined baking sheet. Fill cavities with filling mixture, dusting with a bit of extra breadcrumb on top. Bake for 15-20 minutes until filling is warmed through and a bit golden on top.

There are tons of great recipes for stuffed artichokes out there. Some incorporate seafood, bacon, sausage, you name it! Once you master the clean-n-steam technique, let your taste buds be your guide!


Saturday, March 21, 2015

Mint Condition


TGIS - Thank God It's Spring!

... And it's about time we get our garden in ship-shape for our lovely veggies coming soon.

Last year was our first year cultivating a backyard garden, and I think we did fairly well, but this year, we've got some modifications that I hope will keep our plants happy and healthy all the way to September.

But first: the current state of the plots needs addressing. Over the winter, we let out mint plant have run of the farm, and run it has! But we did this all with a scheme in mind. The end result? An added natural assault on those terrible mosquitoes that threaten to crash every outdoor event we plan.

As is common in Louisiana, we live in a raised house, and that leaves about 2.5 feet of damp, dark crawl space for the mosquitoes to grow as large as pterodactyls. So now we've hatched stage one of our assault on their hordes! Enter - our first line of defense. What else happens to like damp, warm environments? Mint, of course! And do you know what creature is not fond of mint in the slightest? Mosquitoes!

So over the winter, we let the mint go crazy in our main garden bed, giving us a royal bushel of mint plants to propagate under the house to keep those nasty buggers at bay.


Our rowdy crop of mint!
Today was the day that we harvested and replanted those little baby mint plants that we've been growing all winter long. The technique? Mint is a vining grass, similar to crabgrass, that shoots out runners under the surface of the soil to create new root nodules and new plants. An easy way to remove and replant mint is to find the "running" end of mint, use a trowel, and loosen the soil above and beneath the runner with the tines. Gently pull up the mint runner, leading back to the nodule it came from. For a mint plant to have the best chance at success, we want it to have around 2-3 root clusters per plant.
Our wheelbarrow-full of mint plants

There are a few techniques for replanting mint, but the few we use are the "trench" method and the "coil" method, as I call them. For bigger, burlier, older plants, we use the trench method. Dig a 1-2" deep trench, also 1-2" wide. Lay the runner and root clusters in the trench and cover. Make sure soil is moist. For smaller plants, take the runners and root clusters, and coil them in a circle about 3" in diameter. Dig a hole 3" across, 2" deep, and place the cluster in the hole; cover with soil. This is also the best method for more densely compacted soil.

We've planted around 30 separate plants, spaced 6-8" apart, right under the eave of our home. They aren't directly underneath the house, as they like some sunlight. Our hope is that these plants will thrive, soak up extra moisture, and deter those pesky blood-suckers from our backyard (at least a little bit!)

And of course, after we worked up a sweat in the yard, there's nothing quite like harvesting a gallon of mint for...

MINT JULEPS! 


Now, I know the Kentucky Derby isn't until May, but when a girl's got a bucket-load of freshly harvested mint, what else is there to do?

Lavender Mint Julep:

In a julep cup, add 2-3 sprigs of mint. Fill to the top with crushed ice. Use your hand to cover the top of the glass, insert a muddler, and continue to crush the ice with the muddler (this will also crush the mint).

Add:
2 dashes Lavender Bitters
2 shots good Bourbon
2 shots simple syrup

If the drink is too dense, add a splash or two of water. (The general rule is that since Juleps are drunk outside on hot days, the ice will slowly melt into cool, cool water in the drink adding to the tastiness of it!)

Tuesday, March 17, 2015

Springtime Sippers

This is going to come across as totally megalomaniacal, but I promise you I'm not so cool to have such a diagnosis. It also may come off that I have a ton of free time, which is also not true.

What you may discern from this post is that I am 1/2 June Cleaver, 1/2 surly craft cocktail bartender. Those are both far more likely, though I shouldn't toot my own horn over here.

So the dirty bit-- I keep a seasonal cocktail menu on our bar in our house. WAIT, wait, hear me out before your eyes roll so far back that you quit reading.


Here's the logic, and it's more time-saving and comfort-inducing than anything else. If you're like us, you like to drink a wide range of stuff that changes frequently, and also do our friends and family. We have a decently stocked bar, so when we're thinking of what to have, it's either default to the "same-ol', same-ol'" or wrack your already stressed-out and tired brain to figure out something new or creative. Who's got time for that after a long day at the office?

Also, please tell me who hasn't had the following conversation--

"Hey, thanks for coming by! Can we get y'all a drink before dinner?"

"Sure, what do you have?"

"Well... we have..... l-m-n-o-p, a bottle of q-r-s-t-u-v, w-x-y-z... oh and we've also got some a-b-c-d-e-f-g."   Basically, you assault your guest with a terrible list of things to choose from and ask them to tell you what to make.

In this case, you dictate what you can make, what you have in stock, and leave them to the task of selecting a crafted cocktail like they would at a bar. It's an ease-inducing thought, right? Selecting a tasty beverage from a short list of specialties? It's much better than a bartender or server rattling off the types of lame domestic beer they have rolling around in their ice chest.

So, in lieu of that, I'm including the template that you can download to edit and print your own. This one here is a list of what our current Spring drinks are.

Drinks Cocktail List Template

Happy drinking!

Thursday, March 12, 2015

Call of the Wild

After a wet and icy few weeks that have felt like years, it's finally starting to dry out again here in Central Louisiana. Today, for the first time in honest-to-god two months, I'm seeing the sun. Something else that makes today worth celebrating-- for the past two weeks poor ol' Alan has been living outside in the wet and the cold with the Army shooting artillery rounds at targets (oh boy, his favorite thing), and today, finally, he returns to civilization. What better way to welcome the sun, the spring, and my soaking-wet Beau-to-Be with a lovely home-cooked meal?

What's on the menu?

Well, thanks to the welcome help of Shane and his crew over at Vieux Carre Market in Monroe and Inglewood Farms of Alexandria, I will be making seared Muscovy duck breast with Morel mushroom and red wine demiglace, alongside Parmesan risotto and local Brussels Sprouts. Needless to say, I'm proud of my menu selections (and also super-happy to source most everything locally). The big green thing you see is NOT a leek, but instead green garlic that I am going to incorporate into the red wine reduction and Brussels.


I'm not going to bore you with the mundane details of risotto and brussels cooking. Enough of those sorts of recipes are out there. What we're getting to tonight is the center of the dinner, the meat of the situation-- the beautiful, beautiful duck breasts.

Needed:

Rendered duck fat (at least 4 tbsp)
2 Muscovy (domestic/farm-raised) duck breasts. ** If you are using local game ducks, the temperature and cooking time varies depending on how fat the ducks are and how large they are. These regular domestic ducks are about 4 inches by 2.5 inches raw. A decent amount of fatty skin is on one side. If using hunted birds such as Teal and Mallard, I'll show you the adjusted cooking times below--
Salt and Pepper

Method:

1) Make sure duck breasts are completely thawed and at room temperature. There is nothing more ungainly than a somewhat frigid breast (y'know what I mean...) Salt and pepper generously.
2) In a completely steel pan, or cast iron, heat 4 tbsp rendered duck fat at medium heat until completely warm, shimmering, and slightly bubbling.
3) Score store-bought duck breasts (fatty ones) with cross-hatching to help crisp skin and render fat. Wild ducks, especially smaller ones, do not need scoring.


4) Place duck breasts skin side down in pan, and place splatter-guard on top. For the size duck-breasts we have, these are the cooking guidelines:

      For rare - leave skin-side down for 8 minutes, flip, and cook for 4 minutes
     For medium-rare - leave skin side down for 10 minutes, flip, and cook for 5 minutes
     For medium - leave skin side down for 12 minutes, flip, cook for 6 minutes
     For medium-well - leave skin-side down for 14 minutes, flip, cook for 7 minutes
     For well - leave skin-side down for 16 minutes, flip, cook for 8 minutes.

Now, honestly, I never recommend going beyond Medium with good duck. It just isn't necessary, and if that's what you're after, just eat chicken or beef jerky.

*** If using wild duck, adjust all times by taking off approximately 2 minutes on each side. The fat in farm-raised duck goes a long, long way. 

5) Remove duck from heat, place on platter to rest for 5 minutes. Salt skin-side again.

These babies are medium (on the nose)

6) Don't forget you're going to have some delectable juices left in that pan. I used mine with red wine and mushrooms to create a nice pan-sauce. (and don't forget to drink some of that red wine, if you know what I mean.)

Morel Mushroom Pan-Sauce:

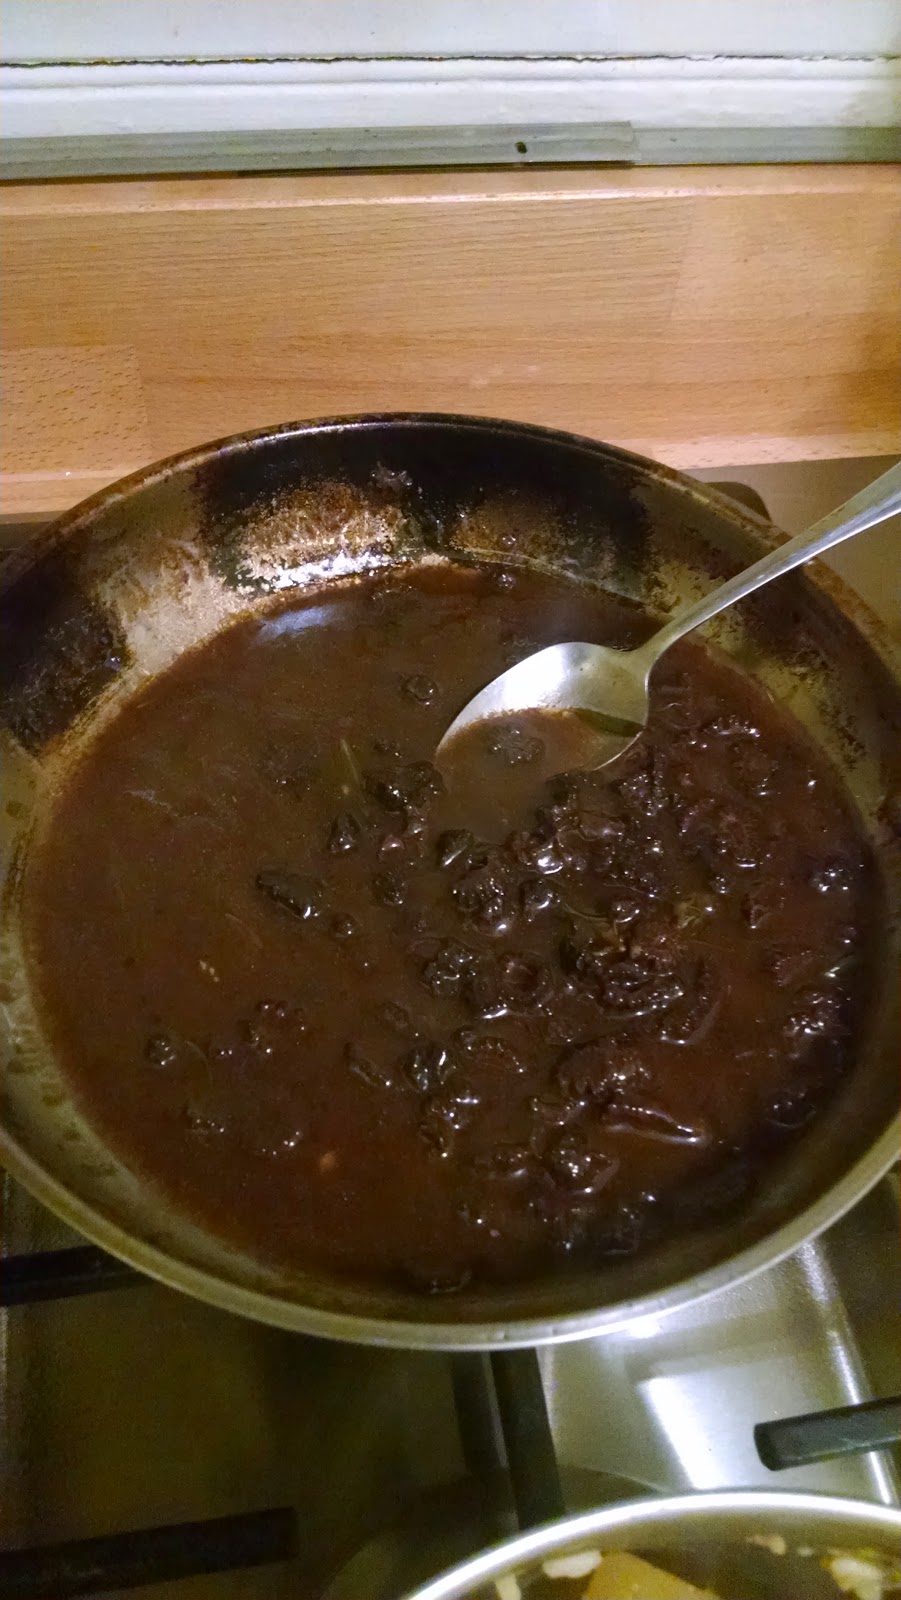
Soak 1oz Dried Morel Mushrooms in warm water for at least 10 minutes to rehydrate, reserving warm liquid. Once duck is cooked and pan juices have collected, turn heat to medium-high, add 1 cup red wine (preferably Syrah) and mushroom juices. If you are using the garlic greens like me, add them before the mushrooms and liquid to help them saute. Add salt, pepper, and a sprig of rosemary. Reserve mushrooms. Allow sauce to simmer and reduce by half. While reducing, chop finely the Morel mushrooms and return to sauce pan. Once reduced by half, remove from heat, and melt 3 tablespoons of butter into sauce. If sauce is still too runny for taste, add two tablespoons cornstarch at low heat; stir, and simmer for 2 minutes. Remove heat and serve.


Sit back, relax, and enjoy. I know we did!

The Cheater's Perfect Manhattan

Well, I know you're going to tell me that there's nothing southern or pond-y about Manhattan (place or drink), but there certainly is room for it in the parlor. My drink for the dark and dreary days of rainy season has been our very southern take on the old classic.

The Cheater's Perfect Manhattan


In a cocktail shaker combine:

2.5oz Bourbon (we prefer wheated bourbon such as Maker's or Weller)
2.5oz Sweet Vermouth (try to get your hands on Carpano Antica Formula if you can)
2 dashes Peychaud's Bitters

Shake vigorously over ice, strain into glass WITHOUT ice.


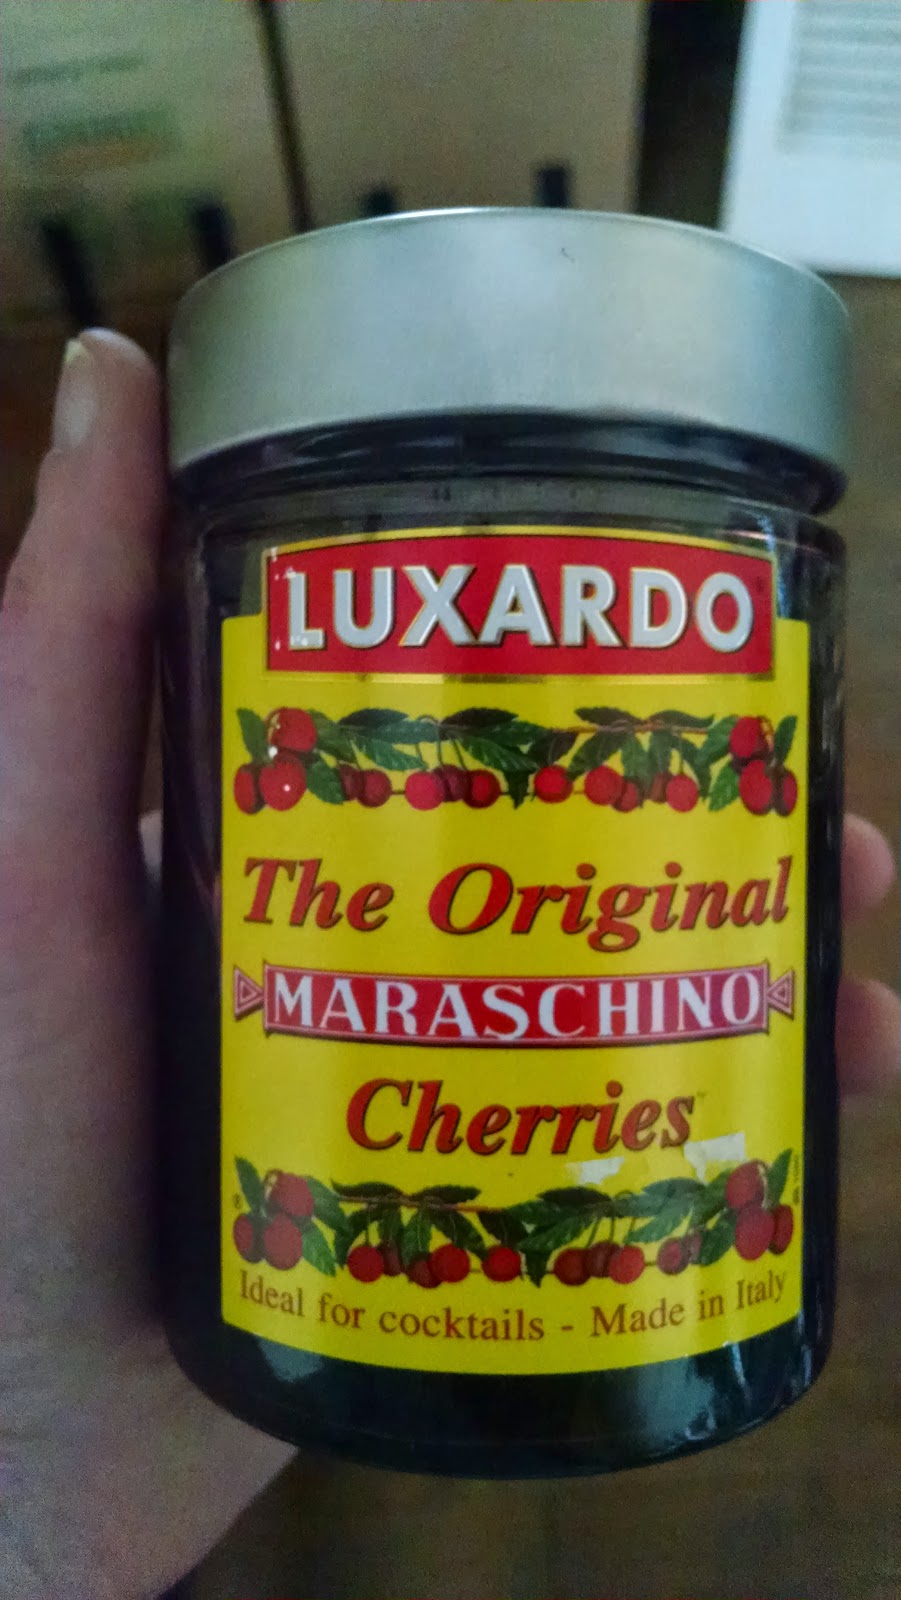
Plop in a Luxardo cherry, and sip to your heart's content. Now, please don't skimp on the cherries. I know, you think Maraschino cherries are gross, and by definition of the modern variety, they are. But listen when I tell you that Luxardo cherries are a revelation. They are not cheap, for sure, but they are the real deal. Do yourself a favor and grab some up.