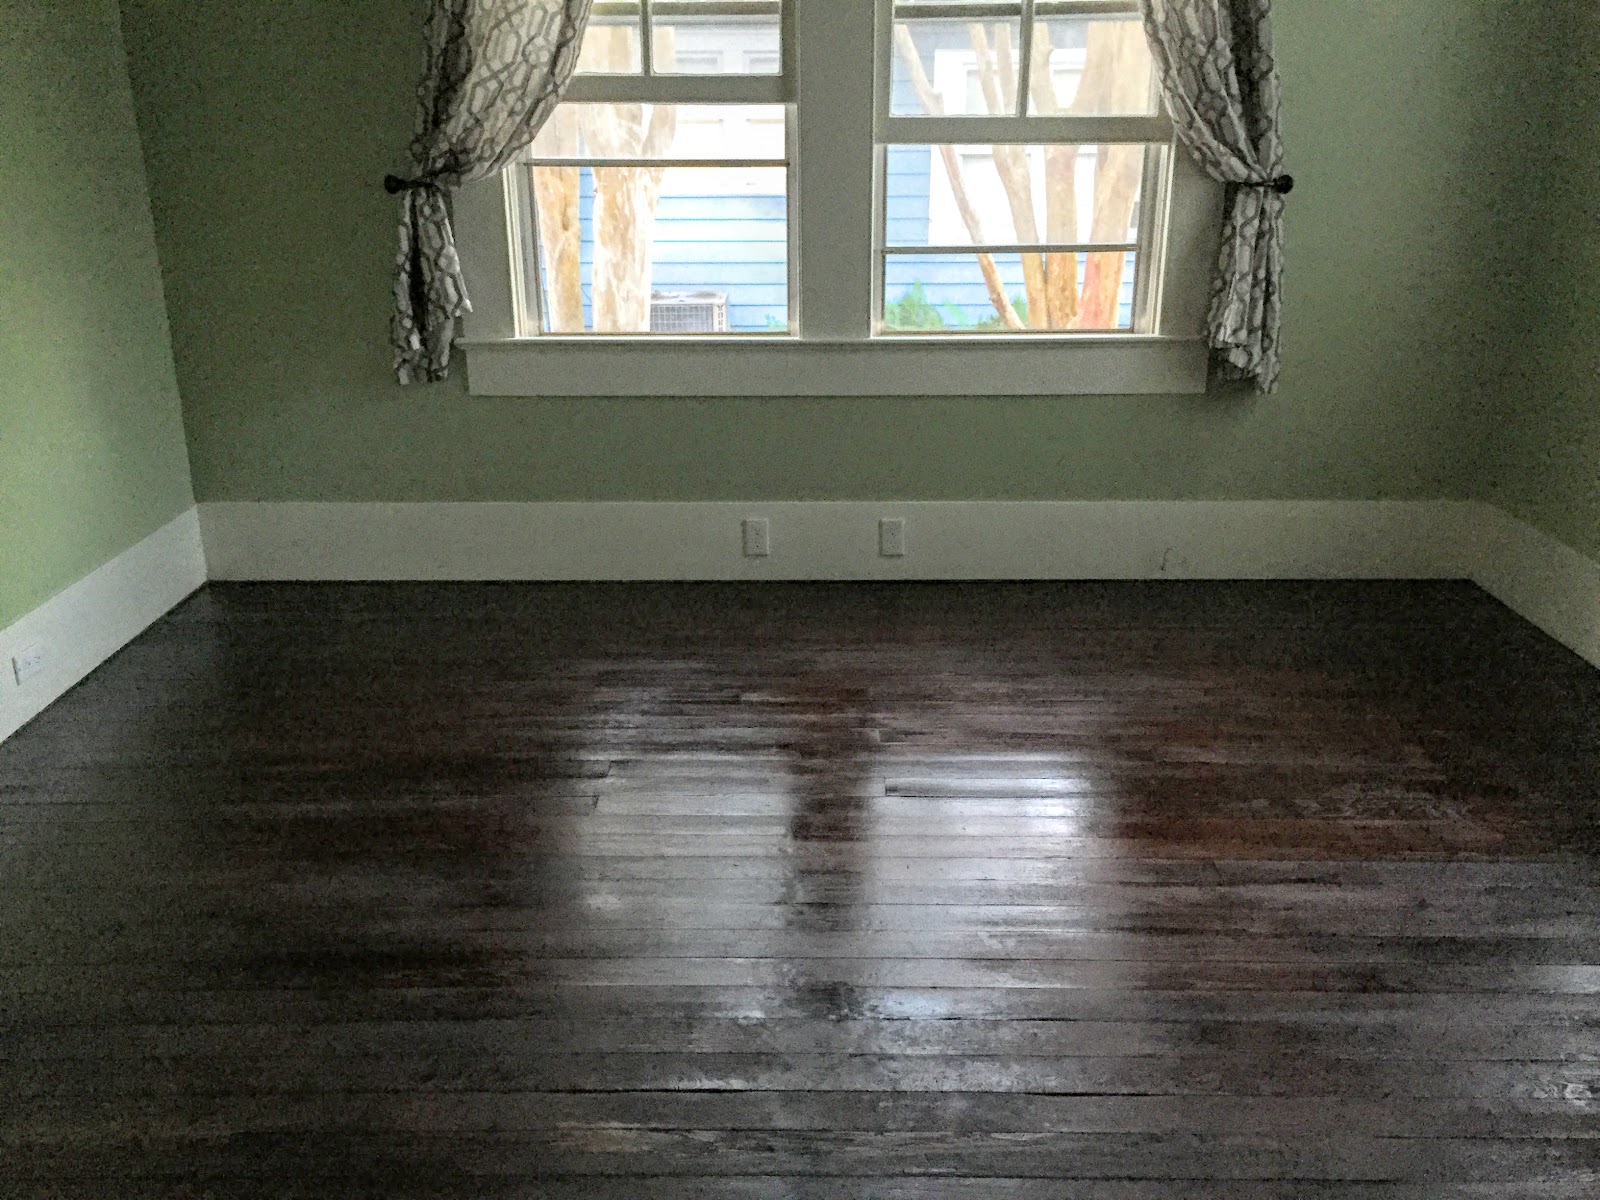
Throughout the clean-out stages of our home renovation, we have been storing and sifting through our things in the biggest-offending room of them all: the master bedroom.
This room is one of three rooms in the house with wallpaper, and the only one with carpet. As such, the propensity of the room to collect dirt and grime has been the greatest. We're having to tackle a few major issues in this room-- damage to sheet rock and surfaces due to chain-smoking and cat urine. There also exist the regular '70s Reno pitfalls such as crunchy popcorn ceilings and ancient wallpaper glue as well as the ever-disintegrating shag carpet.
 |
| The room in its original state |
 |
| The room after completion |
Needless to say, this room was intimidating for me to start on, but I vowed to have it ready for Christmas!
 |
| Detail of wallpaper (1x2 feet) |
The obvious first step was to clean the room itself out. It had been our "distillate" room of sorts when cleaning out the stuff from other rooms, meaning as tough decisions arose, or we came across things we were unsure whether we should keep, they ended up in this room. That made the process of cleaning this room out a very difficult one.
The next steps were:
- Removing and assessing usability of crown moulding
- Removing, cleaning, restoring ceiling fan
- Removing the wallpaper
- Removing the popcorn ceiling
- Patching and caulking any holes, cracks, or flaws
- Sanding all surfaces
- Cleaning and vacuuming all surfaces
- Priming, sanding, and painting all surfaces
- Painting, cutting, installing new crown moulding
- Removing carpet, assessing the floor underneath
- Cinderella-style scrubbing of the floor followed by sanding, then more Cinderella-style scrubbing.
- Cleaning, staining, sealing the floor
- CLOSETS!
We decided to leave the disgusting goldenrod carpet in place as a perfectly-fitted drop-cloth, and we'll tossed it when the paint was done, waiting until the end to assess the condition of the floor underneath.
The wallpaper--
For starters, we removed any nails or screws in the wall itself, taking as much care as possible to not destroy the sheet rock/drywall. We then removed the crown moulding. It was splitting, so we won't be using it again.
Our best friends were a
flat paint trim guard and the
Paper Tiger Wallpaper Scoring Tool. We also devised a solution of 2oz liquid laundry detergent and 16oz water in a spray bottle to help loosen the glue (as well as improve the smell in the room).
The method:
Score a 5-foot section of wall, douse completely with the laundry detergent/water solution, and allow to sit for 5 minutes. Continue to score and soak again as you wish. After the 5 minutes have elapsed, use your putty knife or your paint guard to begin scraping big chunks of paper off. Be sure not to gouge your drywall, but also be sure to remove as much glue as you can. Don't kill yourself, as you'll need to go back over the wall with a sander in any case.
The Ceiling--
Get ready for serious fallout of the nuclear variety, but also prepare to get some sweet, sweet, triceps at the end of this deal! The tools for the popcorn ceiling removal process are remarkably similar to those used in the wallpaper removal process with one serious addition-- the Shop Vac. The Shop Vac pulled double duty keeping as much dust out of the air as possible and removing some larger chunks of popcorn.
 |
| I'm a cruel, cruel wife. |
The first step was to use the Shop Vac directly on the bare ceiling to remove as many chunky bits of popcorn as possible. These bits absorb our laundry detergent/water mixture and keep it from getting to work on the glue. After vacuuming, spray a 5x5 foot section of ceiling with our magical mixture, and allow to steep for 5 minutes. Proceed to get showered in dust as you scrape the ceiling away. Beware again of gouging, and of scraping unevenly on the floated patches if you have them. You want to leave the ceiling as level as possible.
 |
| It's snowing inside! |
Sealing, Caulking, Spackling--
Definitely took a bit longer than I was expecting. I had to clean, remove excess falling caulk, and make sure the surfaces were ready for adhesive. I used Dap 3.0 white window, door, and trim sealant for the windows, doors, and baseboards. I cut the tip of the applicator tube at an angle so that I could apply evenly, then ran my index finger over the joint to seal it off completely. We did this to all wooden trim that sat away from the drywall.
PAINTING!
Since the original wood trim in the room was coated in oil-based paint, we had to prime it with Kilz Oil-Based primer. Once primed thoroughly, latex paint can go directly on top of the primer and never will we need to return to that wretched oil-based paint! For the drywall and ceiling, we just went straight for Kilz2 Latex Primer.
I painted the wooden trim first, as I needed to thoroughly cover edges before painting the color on, and the color was easier to control. The white we used is what we used in the other parts of the house-- Sherwin Williams's HGTV Satin Finish in Roman Column. For the walls themselves, we used the same brand and finish of paint in Recycled Glass. We did two coats on each surface.
Details--
We also had to uninstall, clean, and reinstall the transom window and window hardware. We also had to reinstall the corresponding hardware for window locks and door rimlocks. Oh, and reinstall that 60-lb cast iron ceiling fan from the 1930's. It's an old hunter variety that if oiled, will run like a champ way past my lifetime.
The Floor--
Finally came the time to remove the carpet!! It was really gross, and I ended up cutting it into 4 large sections to roll up and dispose of in contractor bags. I also had fun using the pry-bar to remove the floor tack tracks along the wall's edges.
 |
| Sassy reno-cat |
We were really hoping to get by without refinishing the floor, and so we gave it a thorough cleaning job, but it became evident that we had to take that on. The boards were splintering in spots, and there was just some gunk that would not come up. We sanded, sanded, and sanded, and then we cleaned, cleaned cleaned. Afterward we used Minwax High Performance putty to fill in the splintered parts and got ready for staining. As it dried, we also installed curtain rods, curtains, new electrical outlets and light switches.
 |
| The condition of the floor before cleaning |
The following morning we cut, painted, and installed the new crown moulding. I did not get any pictures of that process, but let me tell you, it was incredibly frustrating and very, VERY educational. That was probably one of the toughest parts about this whole room renovation-- between cutting the exact angle on two planes, to getting the measurements pristinely correct (and having them still be wrong), the whole thing was painstaking. Also, newsflash... old houses's walls are NOT completely even and straight. That can cause some serious problems upon installing 16-foot sections of crown moulding. Tread carefully when taking on that project for the first time!
After a few bourbons and a few cat cuddles...
 |
| Our thoughts expressed after crown moudling |
...we were ready to stain. We used Minwax Polyshades in Walnut, as we just wanted to richen and seal the current floor color. I would not recommend if you have untreated or bright wood and are looking for a dark stain. I would instead stain the wood itself before applying polyurethane. We applied it with cheap old natural bristle brushes that were 4" and worked in a team for two hours to make sure we got it on evenly.
 |
| Waiting for the floors to dry! |
 |
| The next morning-- surveying the damage! |
We had done it! The floor was a bit sticky the next morning, but after walking on it for a bit, the sheen died down. Technically, you are supposed to sand this layer, but just some gentle wear got it perfectly ready for us to install the bed, nightstands, and all the other things. Overstock.com's holiday sales were our best friend in that regard.
We did it!!!
Our official dates from start to completion of this room were 10/31/2015 to 11/23/2015, not counting the closets finished on 1/16/16. That was a whole other ordeal, and the lesson learned there was, "1970's cheap parts and hasty, messy labor contractors are the enemies of today's renovation projects."